d i y
Oh my gosh, it’s been a bit since I’ve blogged!! I’ve missed this space and am excited to be back with a fun DIY project we recently did.
Here is a sneak peek so you know what you’re in for if you keep reading!


When we bought this house almost two years ago, there were so many things I wanted to change...we did so much of it immediately because I just wanted it done, but some things weren’t as crucial, like the doors. They function fine for the most part, but they are all cheap, hollow, and worn out... This bifold door in our kitchen is a prime example...
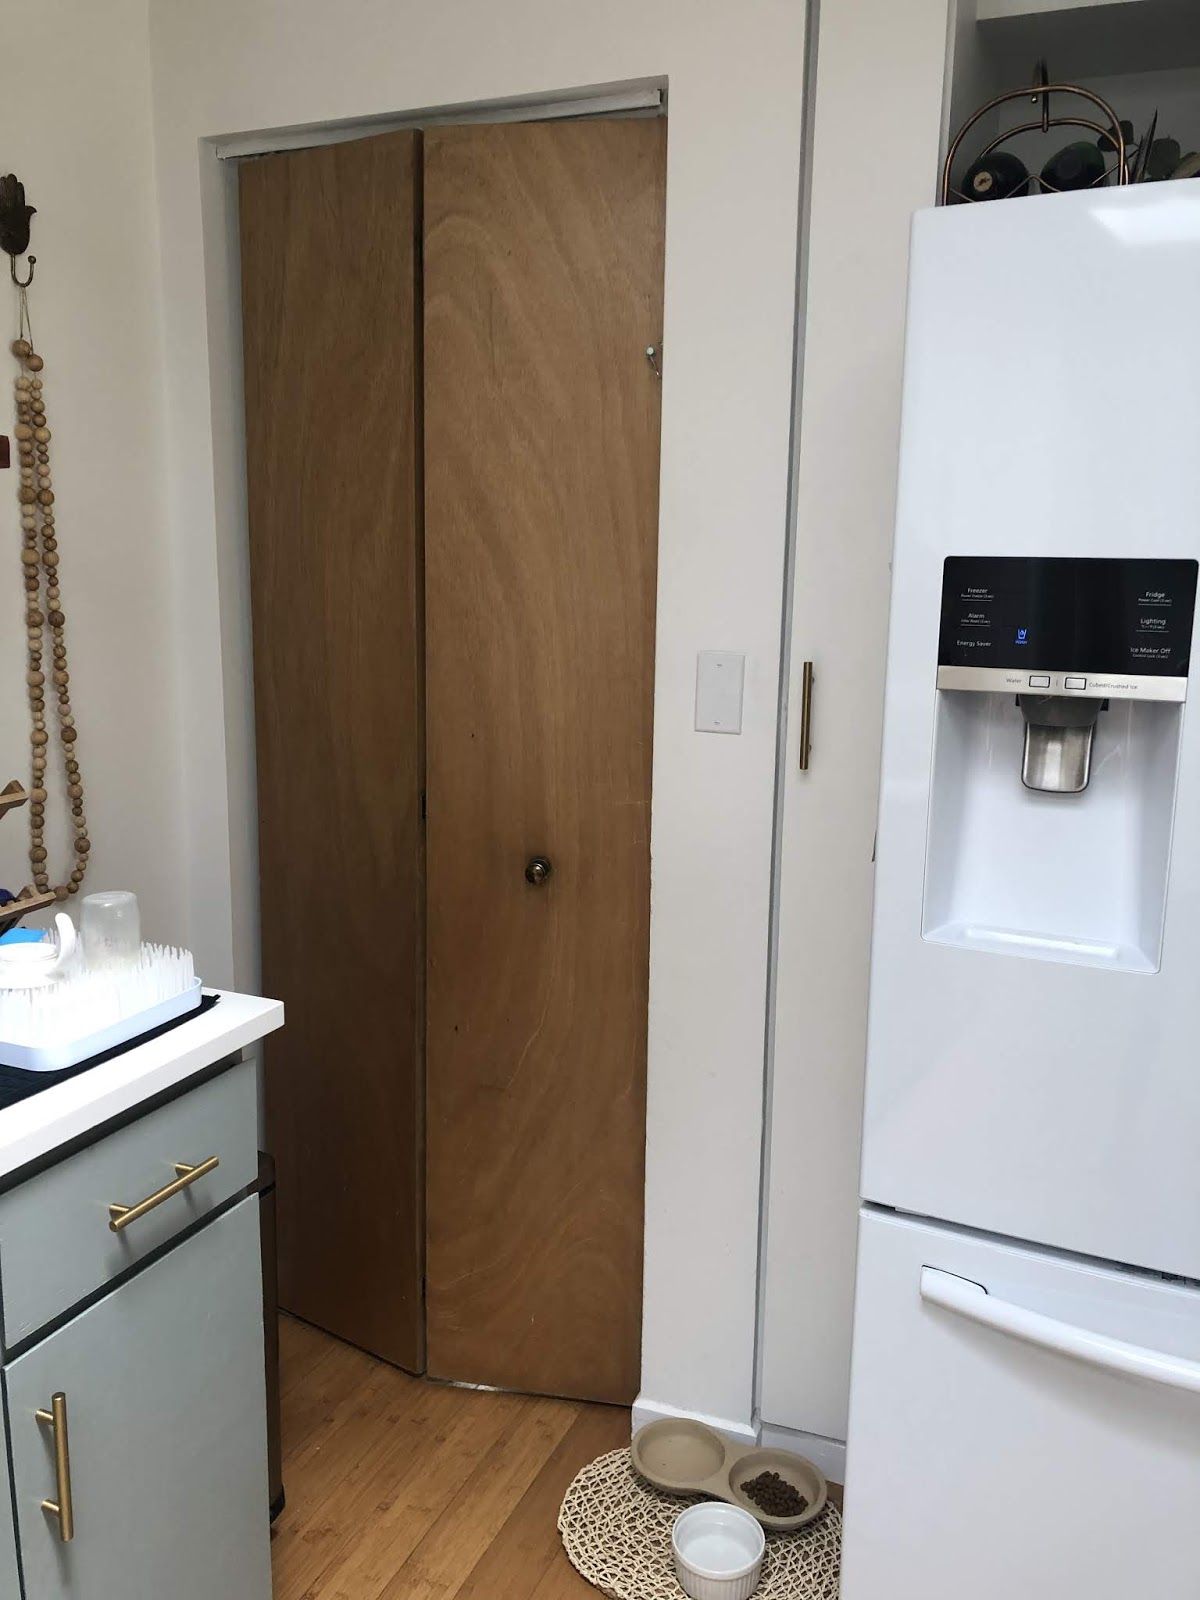
I went back and forth on what I wanted to do...paint it? Replace it? We need to have it there for safety reasons as it leads to the basement, so I figured, for now, I wanted to work with what I had and not spend too much money. I decided not to paint it because I felt like white would be too much white, and the color of our lower cabinets just didn’t seem right either...and the thought of adding a third color to a kitchen already painted in two colors seemed like a bad idea. I decided I wanted to do some sort of caning....I looked into it and got so overwhelmed with the process and cost that I figured there must be an alternative!!
I was right!-BURLAP!
Since we’re in quarantine, I headed to Joanns website to see what they might have. I found this Oyster colored burlap and knew from past projects that Mod Podge would work great with it, so I added those to my cart and then just had to wait a few days!
Once I got the items, I figured I should test it out on a smaller project first so I covered some old shelves that we’ve been using on top of our dog crate.
I’m glad I did because I learned a few things in the process. First, burlap is very stiff and difficult to work with....And those gorgeous woven lines that we love so much about it just don’t like to stay in place either...Since I just wanted to basically test it out, I just went for it without a ton of planning. I just did a bit of Mod Podge to one side of the shelves, and taped the burlap to the back to see what I thought of the overall look. I did do Mod Podge over the front on one of them too, but it didn’t turn out much different than the one I skipped doing that on.
I will say, ironing out the burlap before hand would be a good idea, because anywhere it’s wrinkled, it tends to just not want to stay down or adhere even with a ton of glue.


Overall it turned out good enough for the purpose they serve, and gave me an idea of how to use the products on a larger scale.
SO, lets get to it!
Below is the process and a list of what you’ll need! (I have a lot more detail and video on my Instagram page under DIY highlights!)
SUPPLIES:
1 MEDIUM OR LARGE JUG OF MOD PODGE
6-8 YARDS OF BURLAP (I USED ABOUT 6 FOR BOTH OF THESE PROJECTS)
SPONGES
HEAVY DUTY STAPLE GUN
CLAMPS
TOTAL COST : $35
HOW TO:
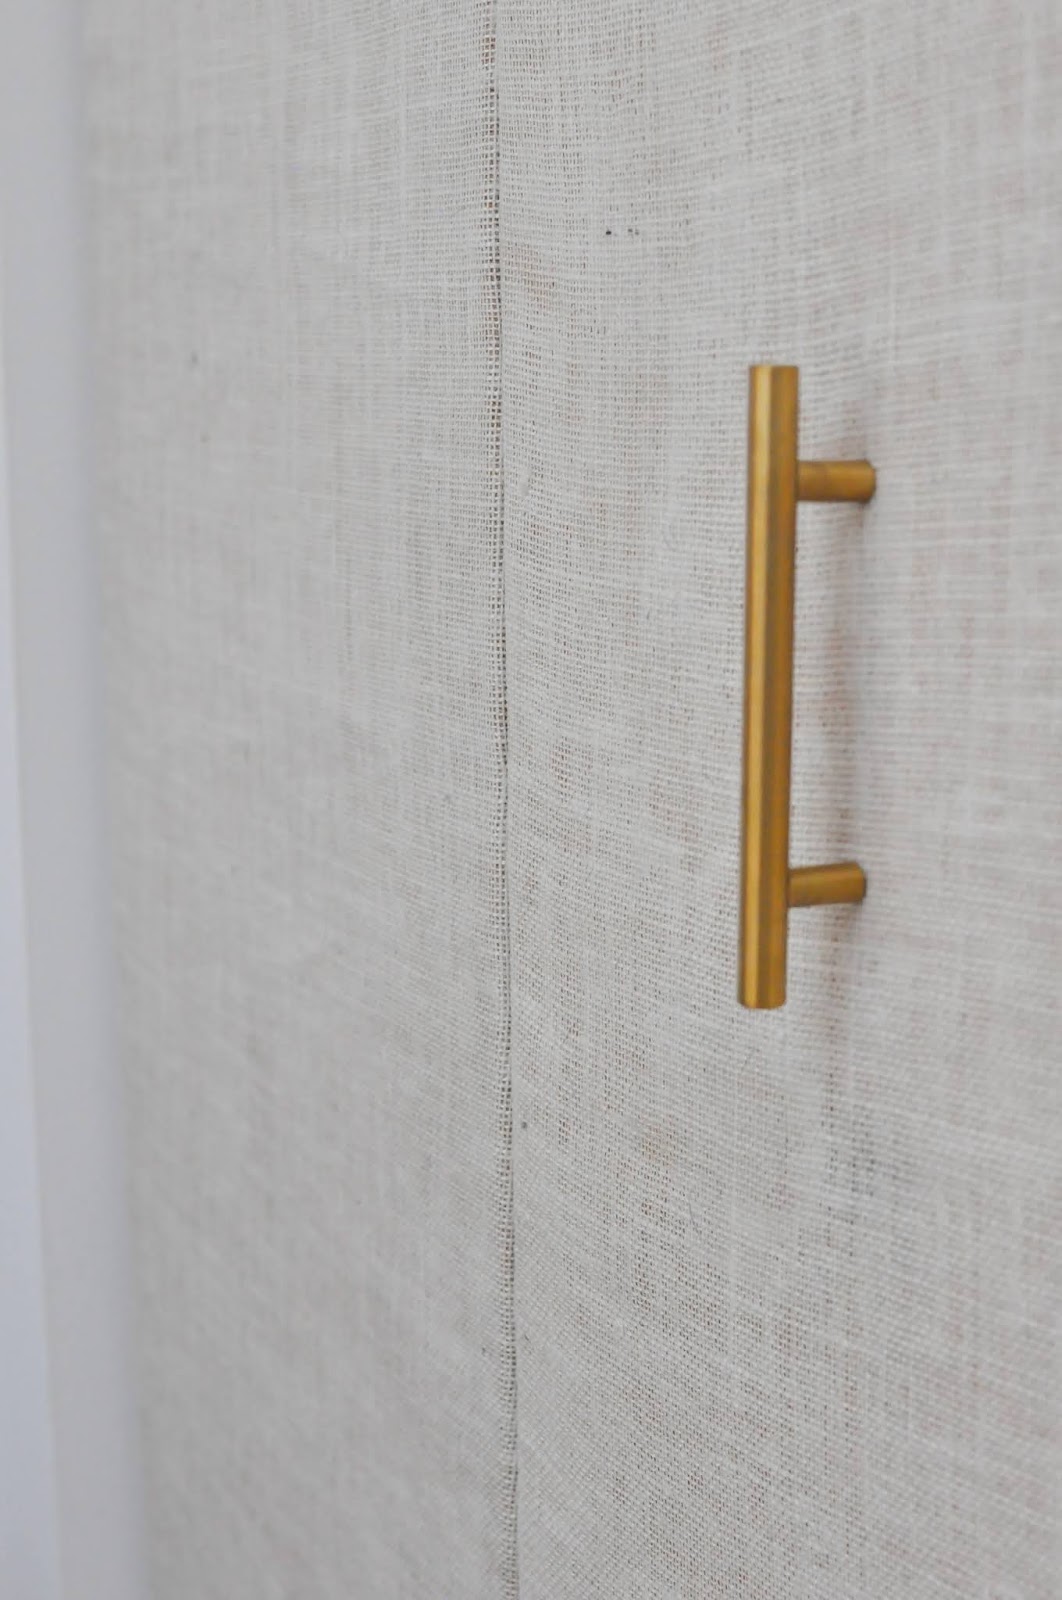
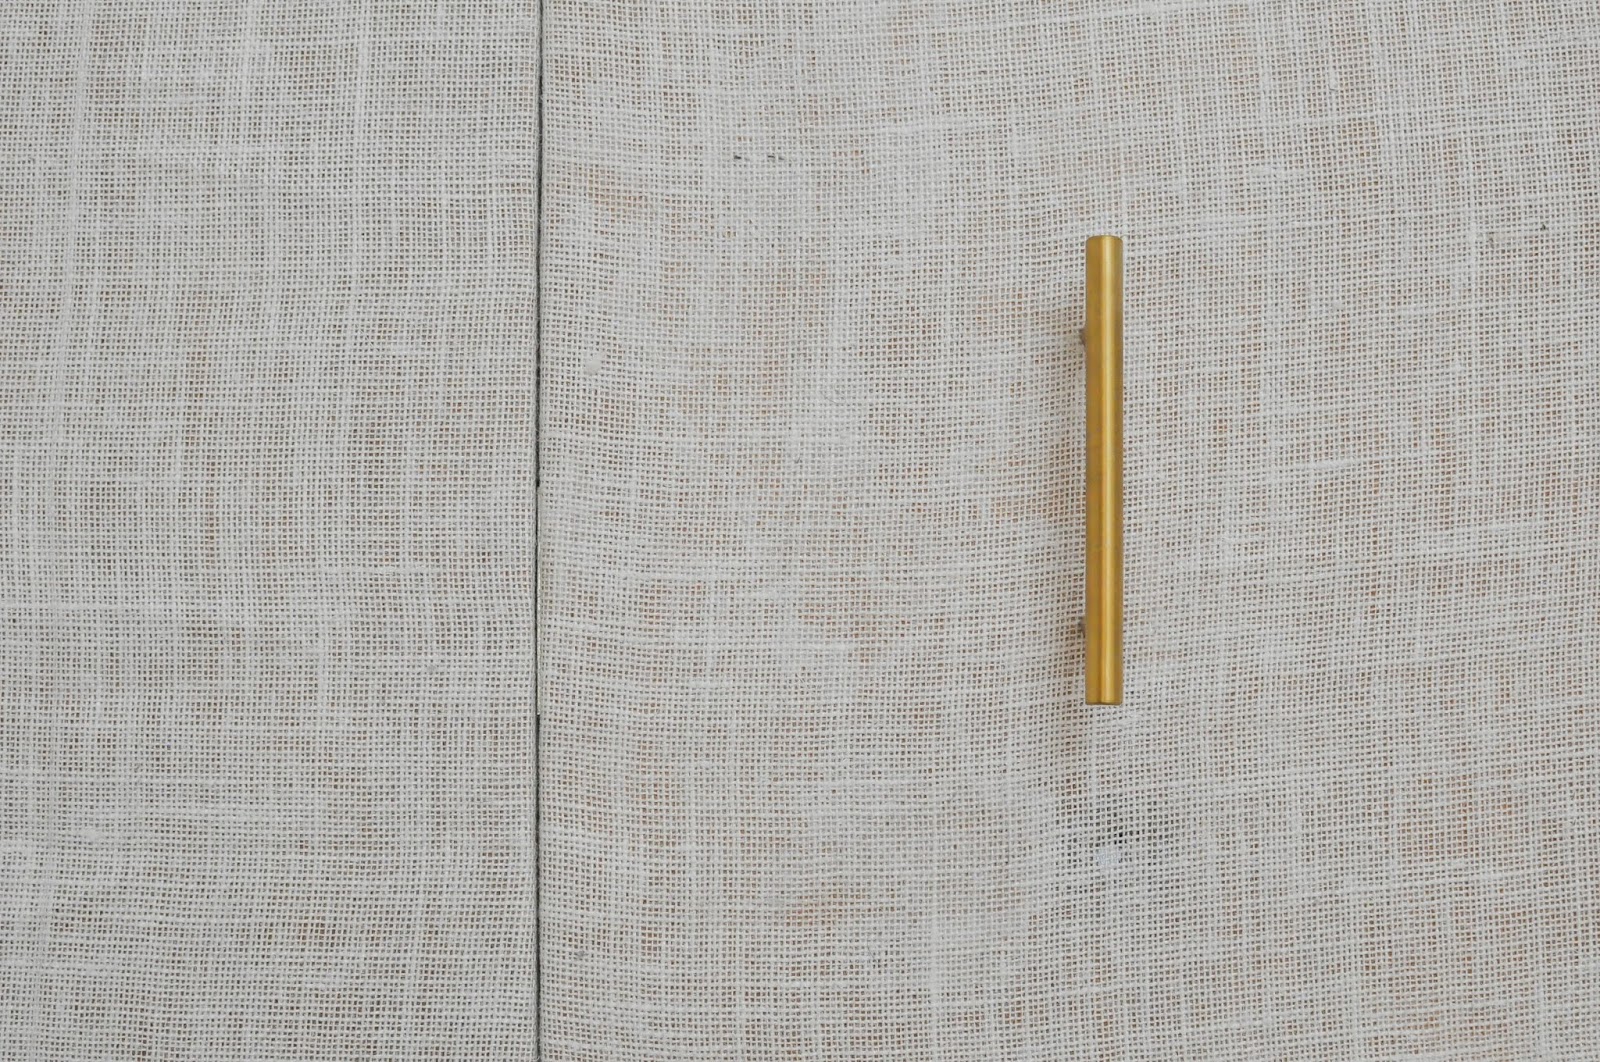
MARK WHERE THE HARDWARE GOES BEFORE ANYTHING ELSE
Douse the side you want covered in plenty of Mod Podge, and have your fabric cut and ready to go. The glue is fairly forgiving, but still work quickly and get that burlap on and pressed down.
Because I was lazy and didn’t iron, I had to really layer the glue on in some spots and I also had to put heavy objects over those spots to keep the fabric down. The glue does dry pretty evenly and totally clear, but ironing it would have been preferable.
After getting the door covered, you can attempt gluing the sides and clamping them. I did this for some of the doors but it was taking so long and I didn’t have enough clamps, so I eventually just grabbed the staple gun and went to town on the backs.
From there, it just took a few hours outside to dry and then we had to reinstall the hinges and put in our new hardware!\


AND HERE IS THE ***GRAND REVEAL***


What do you think? Not too bad for a super cheap upgrade!
----DIY WALL SHELVES----
Happy New Year! I can't believe it's 2016! I am looking forward to this being "my year" and our year, because honestly, the last 2-4 years have been pretty rough. I could use some love/success/stability. Not to seem ungrateful for the amazing relationships and good things that have happened to me, it's just that overall, there has been enough struggling to last a decade, and I would LOVE to just have things make a bit more sense for a while. I know life will always be hard and unpredictable, but some things should make sense. Some things shouldn't be so uncertain, and that's what I'm praying for and hoping for this year.
Happy New Year! I can't believe it's 2016! I am looking forward to this being "my year" and our year, because honestly, the last 2-4 years have been pretty rough. I could use some love/success/stability. Not to seem ungrateful for the amazing relationships and good things that have happened to me, it's just that overall, there has been enough struggling to last a decade, and I would LOVE to just have things make a bit more sense for a while. I know life will always be hard and unpredictable, but some things should make sense. Some things shouldn't be so uncertain, and that's what I'm praying for and hoping for this year.
Anyways! With a new year approaching, I suddenly had the itch to change some things around the house, almost like I get in the Spring...but it's far from Spring here in Washington. It's actually 17 degrees out right now.
Pretty, but way too cold for me. I'm always cold.
So yeah...onto the shelves. I got the inspiration and all instructions from Mandi's awesome DIY blog, Vintage Revivals. Here are hers:

Here are ours!:

I'm so in love with how they turned out! I totally copied her even down to the globe and I don't care. I had a globe sitting around upstairs already so it just seemed meant to be. Anyway, the first hurdle was convincing the husband to help. He sighed a lot, looking through the directions, but eventually decided he wanted to do it, and thank God because there is NO way I could have done it without him. Plus once we were done, he was so proud of himself, it was so cute. I am so proud of him too!
Here is a list of what you'll need (all from Home Depot or your tool kit):
- 12 X 8 shelving brackets

-1/4 " Hex Caps (2 per shelving bracket)

-2" Hex Screws

- 2 " Hex Bolts (2 per bracket)

-A Level

-A Stud Finder

-Painters Tape (ours is so dirty, ewww)

-A cheerleader for the times you want to give up

-wood (we used 1.5" X 38" to fit the wall space)
When measuring your wood, take into account you'll want some overhang. We gave ourselves an extra 1.5 inches on each side.
We just bought pine or birch I believe. It was about $10 and they cut it for us. We sanded it a little at home but not much.
Once you have all the supplies and the wall picked out, you will need to mark your studs. We used pencil and painters tape. We had to settle on a wall that was not our first choice. Not even our second or third choice! But you have to work with where your studs are, and our house is older and nothing makes sense (going back to my life the last few years not making sense...), so we had to be flexible with where the shelves went.
You want to keep in mind the depth of the wood, plus the amount of gap you'll want, and then clearly mark where the final measurements are.
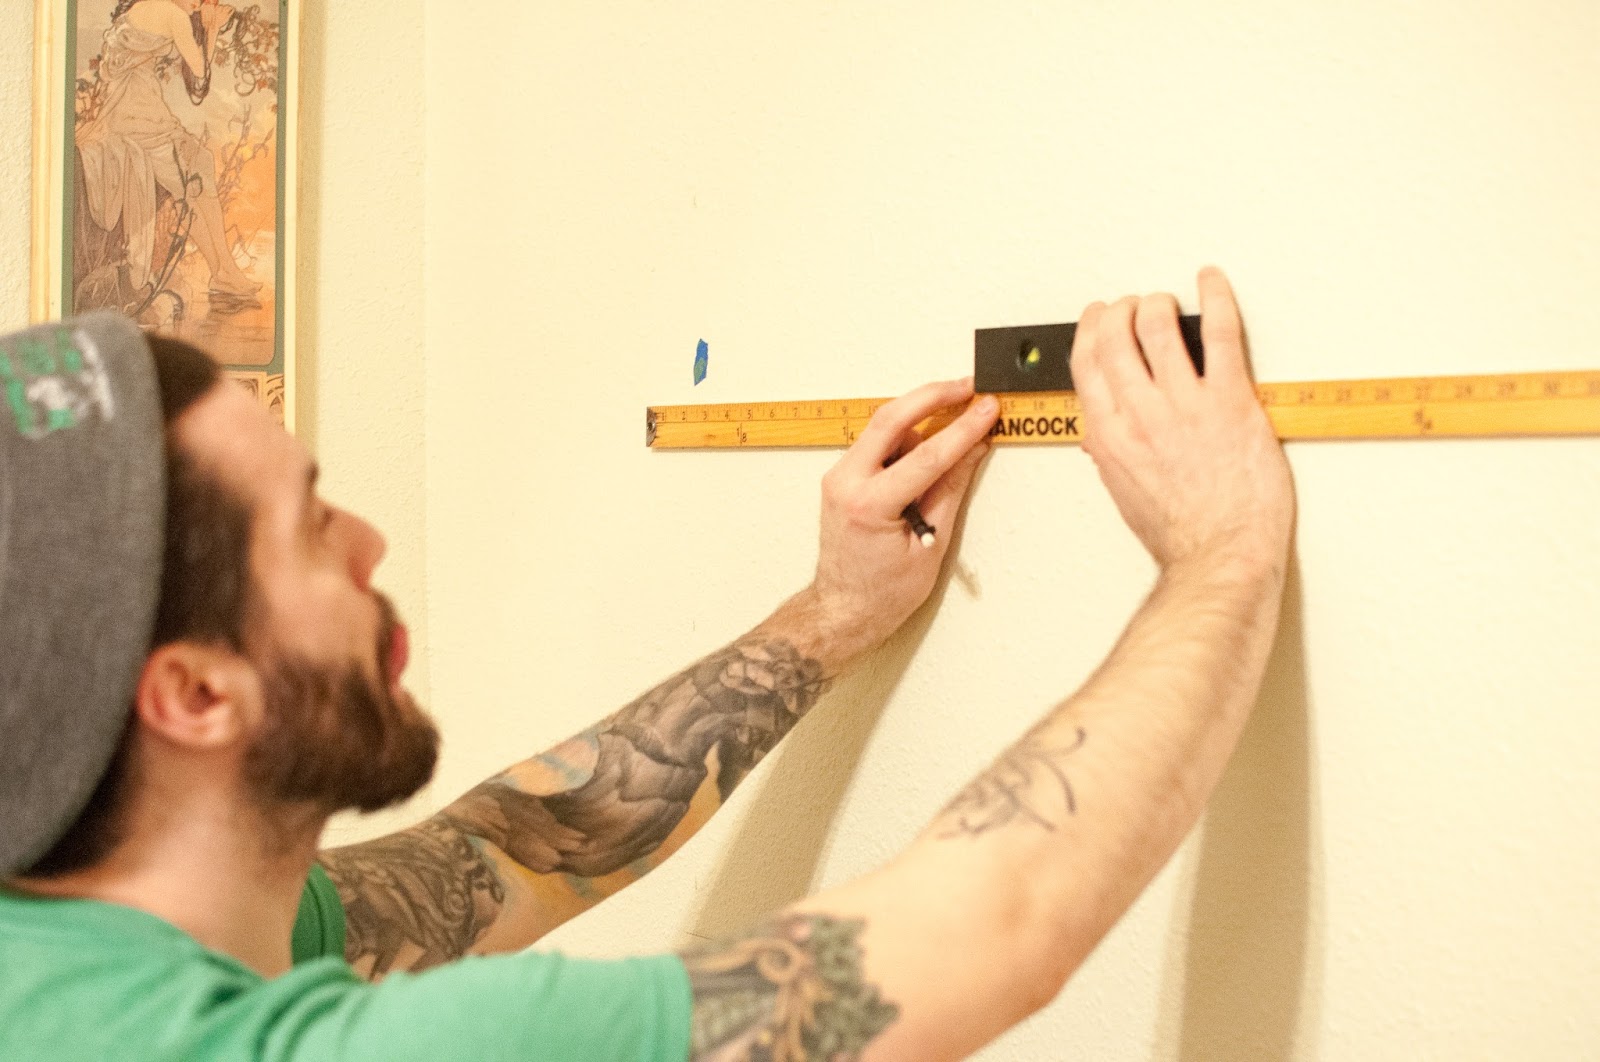

Once everything is marked where it's going to go, you can start drilling!
First drill a pilot hole with a smaller sized drill bit. That way you won't split the stud, plus it just makes things easier. Then screw the brackets in with the hex screws.


Beautiful. Next, mark the wood where you're going to drill and then go ahead a drill. The way we figured out where to drill was by holding the wood up to the brackets and using a pencil to outline the little slots. Definitely a two person job.
Then you can just attach the wood with the hex bolts and caps. This is the easy part. We did use a socket wrench to get them in really tight.


We did this project at night and I patiently waited til morning to take photos of it all decorated. Muuuuch better light!
TA-DAHHH!!!!!!


What do you guys think? I hope you like it! I love to read your comments and questions if you have them, so don't be shy!
Also, I post lots more on instagram, so you should follow!-----diy pet bed-----
hi guys! I do a lot of DIYs around the house but, because I work full time, I usually end up doing them at night and therefore, taking photos of the process just doesn't do it justice...even this one, I did at night so the quality is terrible, but you can at least get the idea.
What you'll need:
-a box (this one is from Costco)
-paint ($1-2)
-foam measured to fit the bed of the box (Joann Fabrics $6)
-safety pins (I just pinned the fabric to the foam on the underneath side...I'm pretty lazy and just want to get to the finish LOL)
-fabric (I'd painted this one in a previous DIY you can see here - $3)
-paint samples (Lowes-free!...I also have a shape cutter outer thing leftover from our wedding so I used that to make her name banner)
-small pillows (the deer one is from my sister and the blue one I sewed real quick)
-toys!
First, I'll introduce you to the little muffin, DAISY!

We can't even believe how cute and sweet she is. Never thought I'd fall for a dog that's part Chihuahua but this little girl just needed us and we needed her. She's been a total ham and a great addition to our family, even though at times we are both too exhausted to even move.


She doesn't sleep in it as much as I'd like, mostly because our Lab/Great Dane mix Auggie has a giant dog bed that's already broken in and stinky that she prefers. She thinks she's as big as him, it's pretty hysterical.
Anyways,
there it is! Quick and easy, and a total of around $11!
S T A M P Pillow Case/Towel/Whatever:
If you want something done, you gotta DIY!
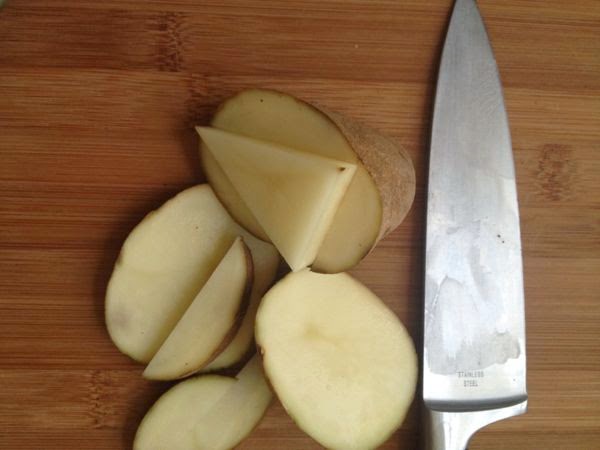
Seriously, I'd been searching for simple black and white towels, pillow cases, etc for weeks but everything I found was either chevron, damask, or just what I wanted, but too expensive. So I headed to Joann Fabrics and bought a couple of plain tea towels and some black fabric paint. I also got a little sponge stamp (see second towel) and I picked up a potato at the grocery store. I'd never done a potato stamp, but I remembered that it was something people do :)
Next I washed and dried the towels.
I then cut a super simple design into my tater :) I hate when people call them taters.
I watered down the paint a bit so that it not only goes further but also stamps better.
After stamping, let the paint dry and then all I did was rinse it in the shower and air dry it.
SO EASY! I think my total cost was around $15 for both towels, including paint, zippers, stamps and potato. The pillow insert (see below) I already had.


I haven't decided what to use this for yet...maybe just a photography backdrop or a ginormous hand towel.
Next is a more traditional stamp.
This one I made into a washable pillow case complete with a zipper with the help (she did all the work actually) of my Mother in Law. She's quite the seamstress!


Now I just have to keep our black cat and our black dog's hair off of these. And they are shedding like it's about to be summer or something?! Rude.
Anyways, thanks for coming by!
<----------------------->
DIY // DIP - D Y E
Good morning! Today I wanted to share with you a super easy DIY for dip dyeing a lampshade. In my recent attempts to lighten and whiten my home decor style, I developed a bit of a "despisal" - that should be a word...I haven't finished my coffee yet, but as of right now, I feel confused that that isn't already an existing word...it means currently despising if you ask me - for the lampshades I had on our nightstands. I was hoping I could more or less bleach them and leave a bit of color fringed at the base. Anyways, here is the before:

They're just so blah and beige. Gross.
So after snapping a couple of fun pictures to get the light right(ish)....


I dove right in with the bleach. I have no idea what the water:bleach ratio was, but lots of water and not a lot of bleach..


I checked them at 5 minutes, added more bleach and let them soak for another 25. I really wanted white but it wouldn't happen. They honestly looked the same at 5 minutes as they did at 30. So here they are. Don't judge our bedroom too much, we haven't finished painting. It's hard to paint the room you sleep in because the fumes can be nauseating!!


<------------------------------------>
BLACK//W H I T E
So,
here is a tutorial on glass painting. I'm far from an expert, but I
know that you can use acrylic to paint glass. It's removable if need
be, or there are kinds you can paint and bake and therefore seal. You
can also purchase a kind of sealing varnish, which I plan on doing next
time I get one of those annoying but nonetheless appreciated Michaels 40
% off coupons :)
Anyways, here is what you'll need:
-glass to paint
-acrylic paint
-brushes
-thin masking tape (available at Michaels)
-paper towel or drop cloth
Directions (pretty self explanatory but whatever)
1.
Tape off area you want the paint to end. I found it helpful to leave
at least enough room for my hand to be able to hold the bottles so that I
could paint more easily.

2. Choose and portion out your colors

3.
Paint those bad boys! Now, I will say, it's tempting to just
immediately move on to the second and third coat, but it's important to
let each coat get a little dry so that the paint doesn't move around
under the brush's bristles.

4. Once you've done at least three coats, but before your paint has dried, remove the tape. Waiting until the paint is dry can cause the tape to peel away paint and ruin all your hard work!!

5. Admire your work :)


I'm
planning on using mine for oil and vinegar, but I suppose you could use
them for anything, or just for decoration. I love how they turned out!
I love the matte finish and the simplicity of them.
<---------------------------------->
FLOWER C R O W N
Hello again. I want to share with you today a little DIY tutorial on making your very own, totally you, and entirely inexpensive flower crown. I had never worn one before but I knew once I was engaged and started looking through wedding photos that this would be the perfect occasion to dawn one. I looked around on Etsy and I just wasn't sure what style or colors I wanted. Did I want just white? I even considered using real flowers and making it the day of! Good thing I didn't attempt that, because my wedding day was jampacked and pretty stressful, although a very happy day regardless.
I found some tutorials online for making one yourself and I just followed a few of those while adding my own style. I probably spent about $25 on everything, although the cost of time was something to consider too. Our engagement was only three months though, and I worked up until a week before. Where there's a will, there's a way right?
Anyway, here is what you'll need:
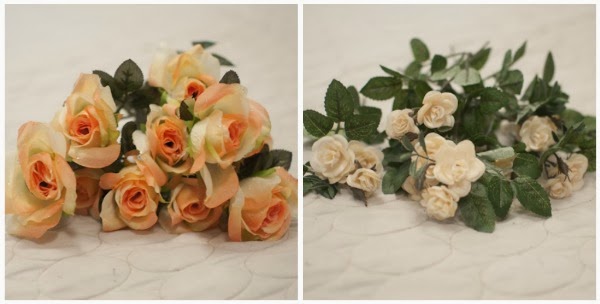
-Flowers in your color(s) of choice. (Unfortunately for me, the only peach flowers I liked came with fake dew on them so Mark and I had to painstakingly pick all of that glue off).
-Eucalyptus (I wanted to add more of an earthy element)
-Craft wire cutters
-Floral wire
-Heavy rustic floral wire
-A couple hours ;)


With the heavy rustic floral wire, pull out about 36 inches (better to have too much than not enough) and snip it with your wire cutters. Then, simply shape it into a circle and place it where you plan on wearing it on your head....
Twist the back into an enclosed circle - it doesn't have to be tight or finished there yet.
Some people at this point choose to lay out their floral arrangement and then start attaching but I am not that type of person. I just started attaching things.
Take the green floral wire (mine came with it's own little cutter which was great) and twist your first flower onto your crown. You will probably need to do some trimming of excess greenery, but leave some stem for you to bulk up your crown with the next attachments.
Continue attaching bits and pieces, all the while trying on your crown and making sure no wire is overly poking you. I found it helped to arrange things at different levels, some below and about the wire to make it look more "natural" and not so perfect. I have a very small head so I stopped attaching at about where my ears are. I didn't want it to be overwhelming. I had bought ribbon for the back but I didn't use it because my hairstylist wanted it beneath my hair, which worked great since I was wearing my hair down anyway.

And here it is in all it's glory!


I know I need to do a post with more wedding photos, I just haven't had the time...stay tuned though, for sure ;)
Hope you enjoyed this DIY! Thanks for reading!
Comments
Post a Comment