DIY // F L O W E R C R O W N
Hello again. I want to share with you today a little DIY tutorial on making your very own, totally you, and entirely inexpensive flower crown. I had never worn one before but I knew once I was engaged and started looking through wedding photos that this would be the perfect occasion to dawn one. I looked around on Etsy and I just wasn't sure what style or colors I wanted. Did I want just white? I even considered using real flowers and making it the day of! Good thing I didn't attempt that, because my wedding day was jampacked and pretty stressful, although a very happy day regardless.
I found some tutorials online for making one yourself and I just followed a few of those while adding my own style. I probably spent about $25 on everything, although the cost of time was something to consider too. Our engagement was only three months though, and I worked up until a week before. Where there's a will, there's a way right?
Anyway, here is what you'll need:
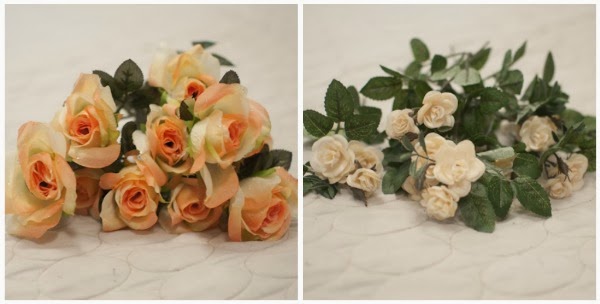
-Flowers in your color(s) of choice. (Unfortunately for me, the only peach flowers I liked came with fake dew on them so Mark and I had to painstakingly pick all of that glue off).
-Eucalyptus (I wanted to add more of an earthy element)
-Craft wire cutters
-Floral wire
-Heavy rustic floral wire
-A couple hours ;)


With the heavy rustic floral wire, pull out about 36 inches (better to have too much than not enough) and snip it with your wire cutters. Then, simply shape it into a circle and place it where you plan on wearing it on your head....
Twist the back into an enclosed circle - it doesn't have to be tight or finished there yet.
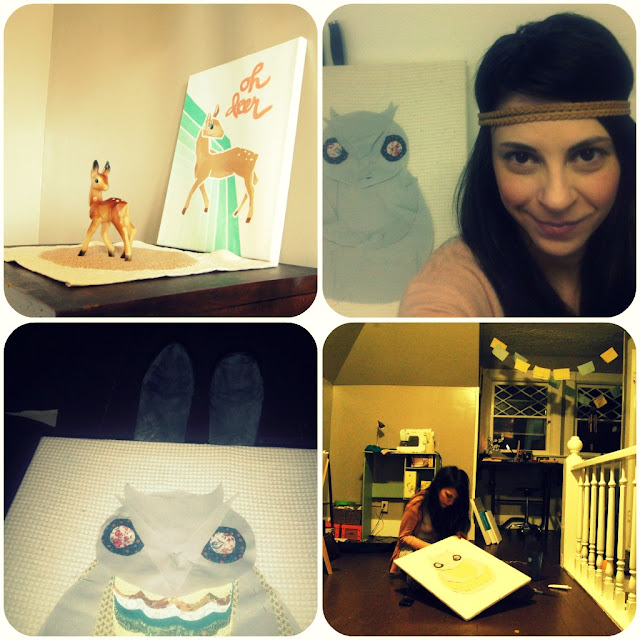
Some people at this point choose to lay out their floral arrangement and then start attaching but I am not that type of person. I just started attaching things.
Take the green floral wire (mine came with it's own little cutter which was great) and twist your first flower onto your crown. You will probably need to do some trimming of excess greenery, but leave some stem for you to bulk up your crown with the next attachments.
Continue attaching bits and pieces, all the while trying on your crown and making sure no wire is overly poking you. I found it helped to arrange things at different levels, some below and about the wire to make it look more "natural" and not so perfect. I have a very small head so I stopped attaching at about where my ears are. I didn't want it to be overwhelming. I had bought ribbon for the back but I didn't use it because my hairstylist wanted it beneath my hair, which worked great since I was wearing my hair down anyway.

And here it is in all it's glory!


I know I need to do a post with more wedding photos, I just haven't had the time...stay tuned though, for sure ;)
Hope you enjoyed this DIY! Thanks for reading!

Comments
Post a Comment