DIY BURLAP CLOSET DOORS
Oh my gosh, it’s been a bit since I’ve blogged!! I’ve missed this space and am excited to be back with a fun DIY project we recently did.
Here is a sneak peek so you know what you’re in for if you keep reading!


When we bought this house almost two years ago, there were so many things I wanted to change...we did so much of it immediately because I just wanted it done, but some things weren’t as crucial, like the doors. They function fine for the most part, but they are all cheap, hollow, and worn out... This bifold door in our kitchen is a prime example...
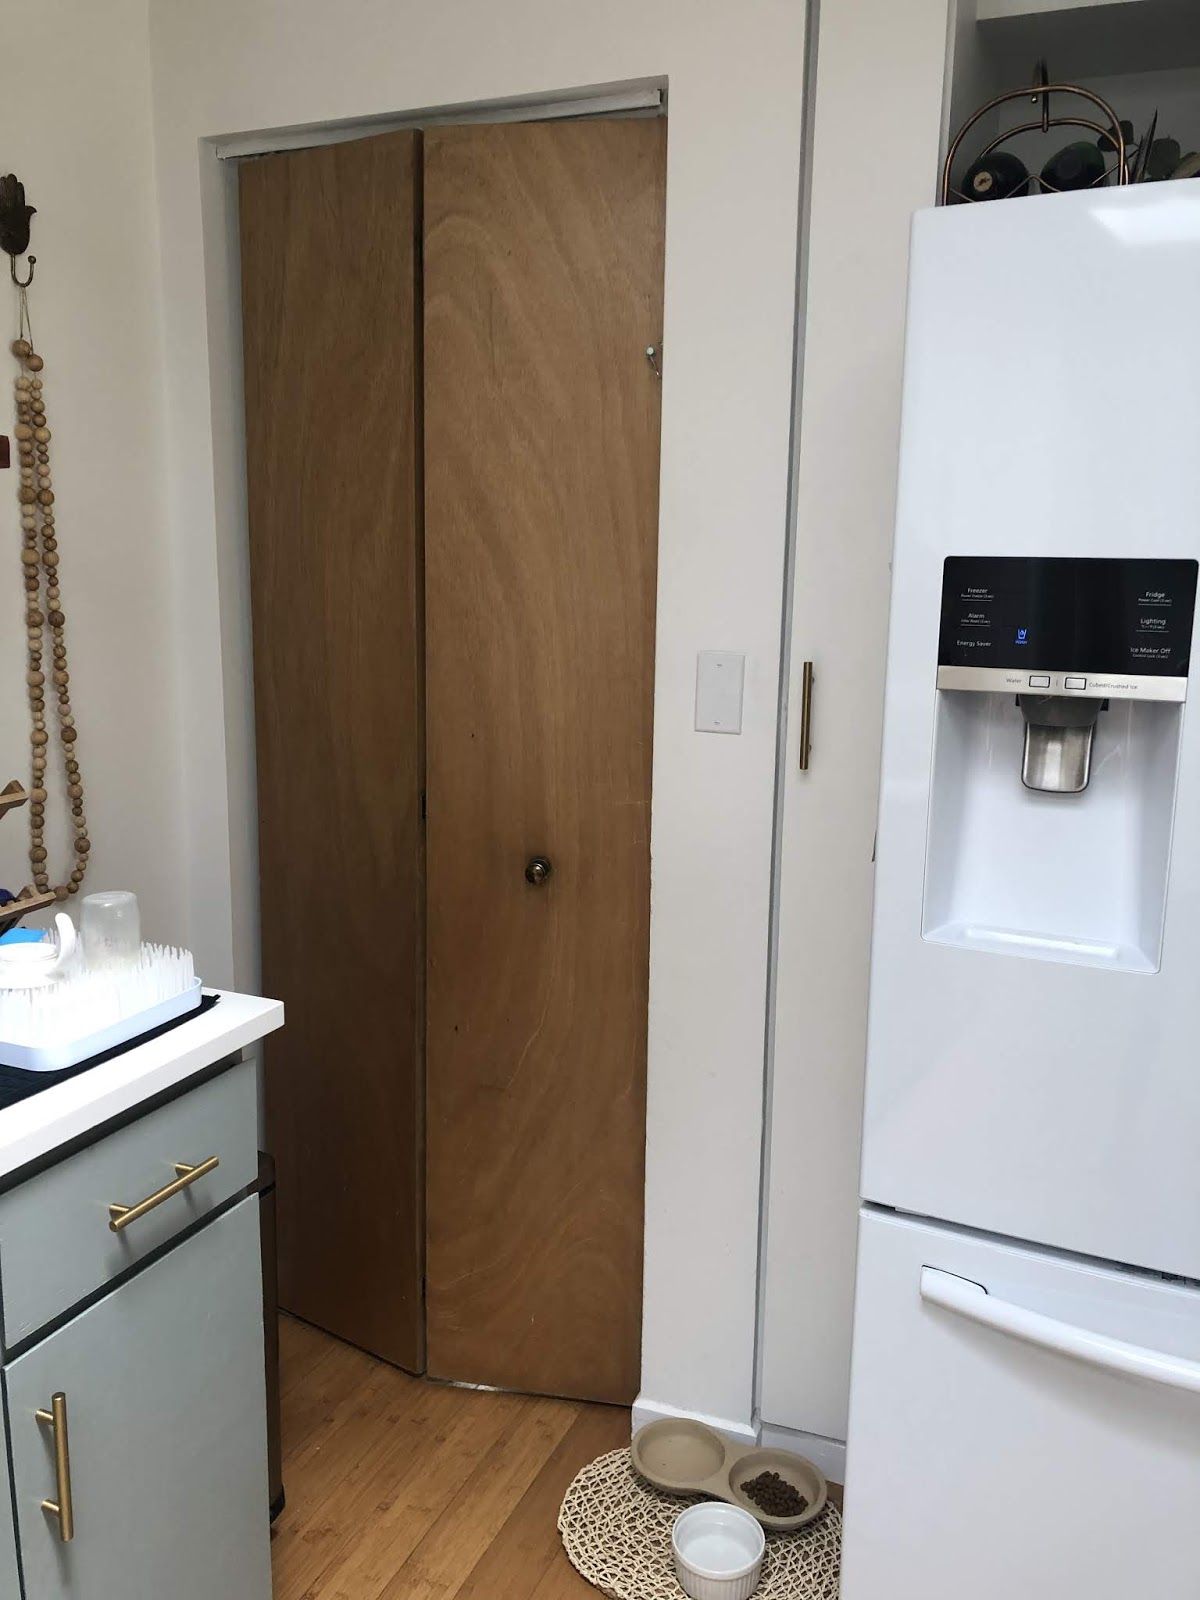
I went back and forth on what I wanted to do...paint it? Replace it? We need to have it there for safety reasons as it leads to the basement, so I figured, for now, I wanted to work with what I had and not spend too much money. I decided not to paint it because I felt like white would be too much white, and the color of our lower cabinets just didn’t seem right either...and the thought of adding a third color to a kitchen already painted in two colors seemed like a bad idea. I decided I wanted to do some sort of caning....I looked into it and got so overwhelmed with the process and cost that I figured there must be an alternative!!
I was right!-BURLAP!
Since we’re in quarantine, I headed to Joanns website to see what they might have. I found this Oyster colored burlap and knew from past projects that Mod Podge would work great with it, so I added those to my cart and then just had to wait a few days!
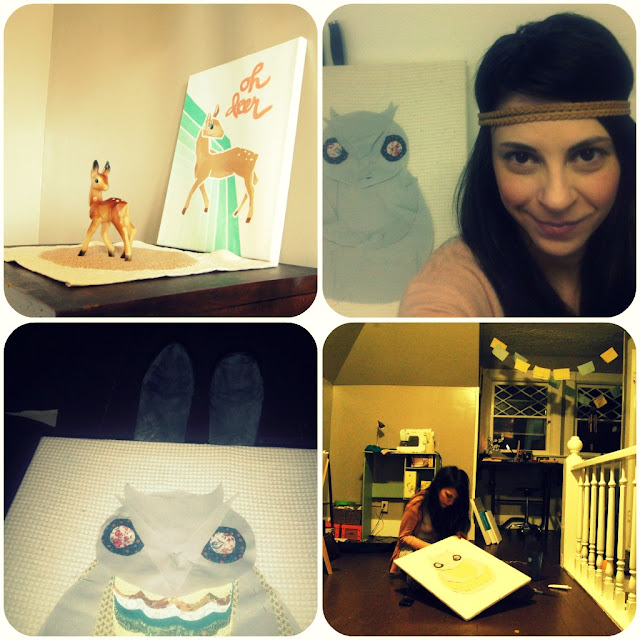
Once I got the items, I figured I should test it out on a smaller project first so I covered some old shelves that we’ve been using on top of our dog crate.
I’m glad I did because I learned a few things in the process. First, burlap is very stiff and difficult to work with....And those gorgeous woven lines that we love so much about it just don’t like to stay in place either...Since I just wanted to basically test it out, I just went for it without a ton of planning. I just did a bit of Mod Podge to one side of the shelves, and taped the burlap to the back to see what I thought of the overall look. I did do Mod Podge over the front on one of them too, but it didn’t turn out much different than the one I skipped doing that on.
I will say, ironing out the burlap before hand would be a good idea, because anywhere it’s wrinkled, it tends to just not want to stay down or adhere even with a ton of glue.


Overall it turned out good enough for the purpose they serve, and gave me an idea of how to use the products on a larger scale.
SO, lets get to it!
Below is the process and a list of what you’ll need! (I have a lot more detail and video on my Instagram page under DIY highlights!)
SUPPLIES:
1 MEDIUM OR LARGE JUG OF MOD PODGE
6-8 YARDS OF BURLAP (I USED ABOUT 6 FOR BOTH OF THESE PROJECTS)
SPONGES
HEAVY DUTY STAPLE GUN
CLAMPS
TOTAL COST : $35
HOW TO:
MARK WHERE THE HARDWARE GOES BEFORE ANYTHING ELSE
Douse the side you want covered in plenty of Mod Podge, and have your fabric cut and ready to go. The glue is fairly forgiving, but still work quickly and get that burlap on and pressed down.
Because I was lazy and didn’t iron, I had to really layer the glue on in some spots and I also had to put heavy objects over those spots to keep the fabric down. The glue does dry pretty evenly and totally clear, but ironing it would have been preferable.
After getting the door covered, you can attempt gluing the sides and clamping them. I did this for some of the doors but it was taking so long and I didn’t have enough clamps, so I eventually just grabbed the staple gun and went to town on the backs.
From there, it just took a few hours outside to dry and then we had to reinstall the hinges and put in our new hardware!\


AND HERE IS THE ***GRAND REVEAL***


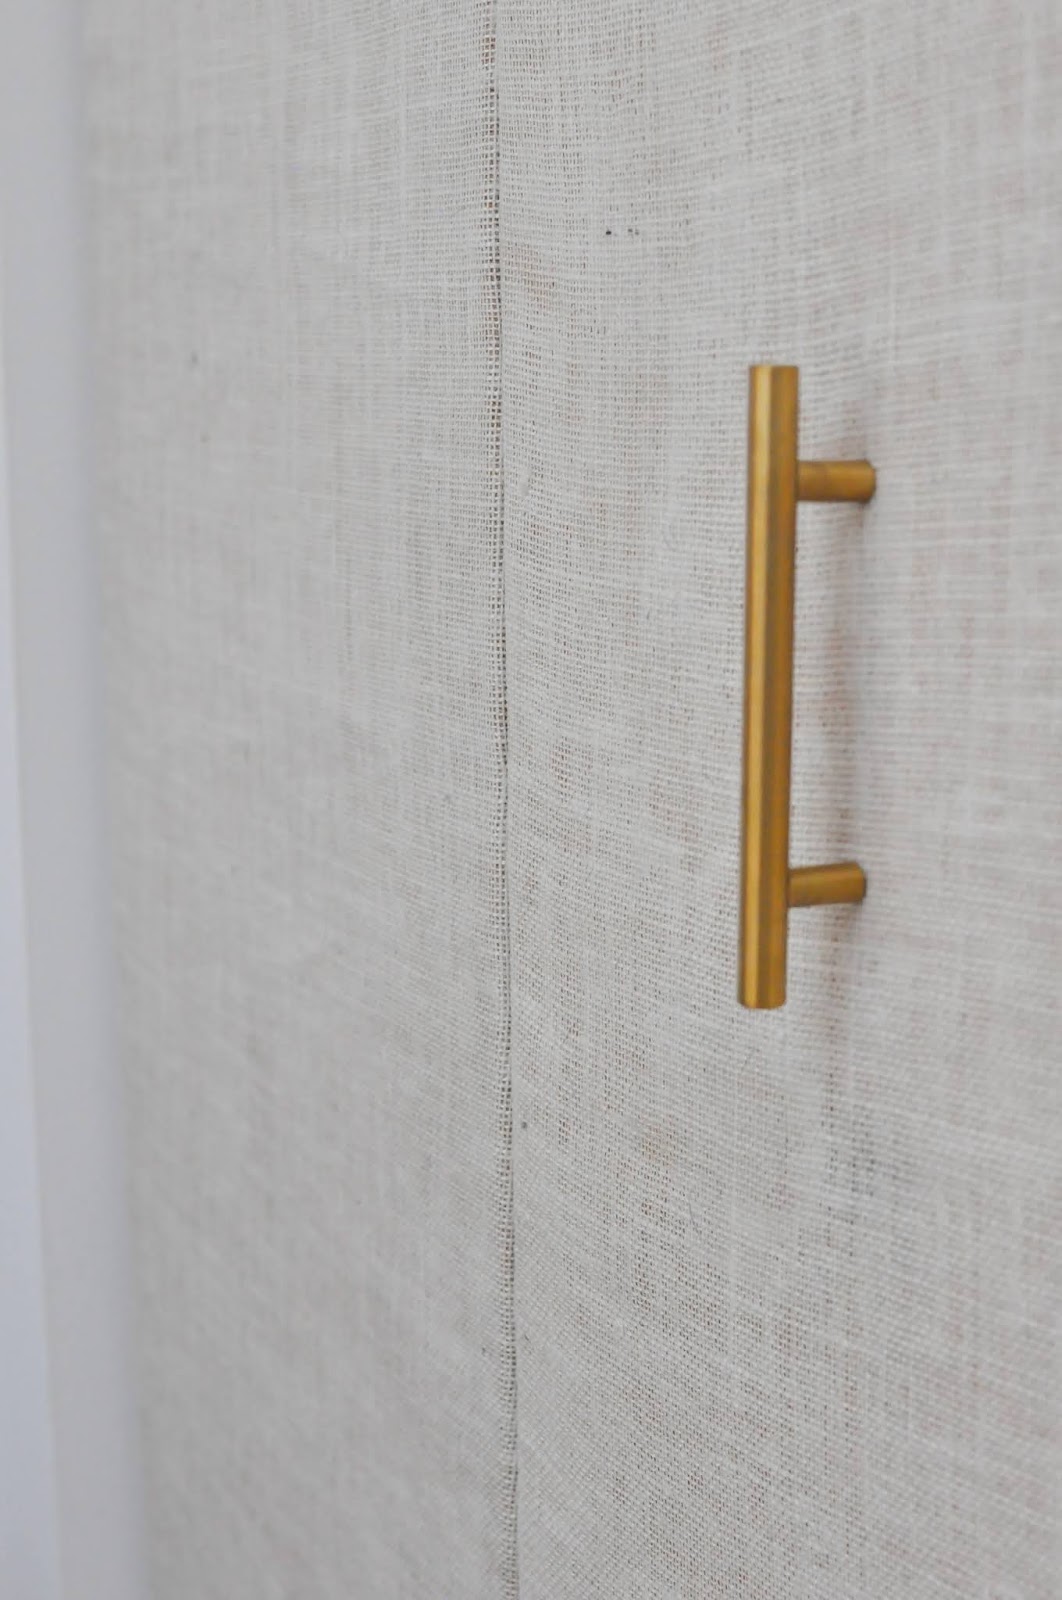

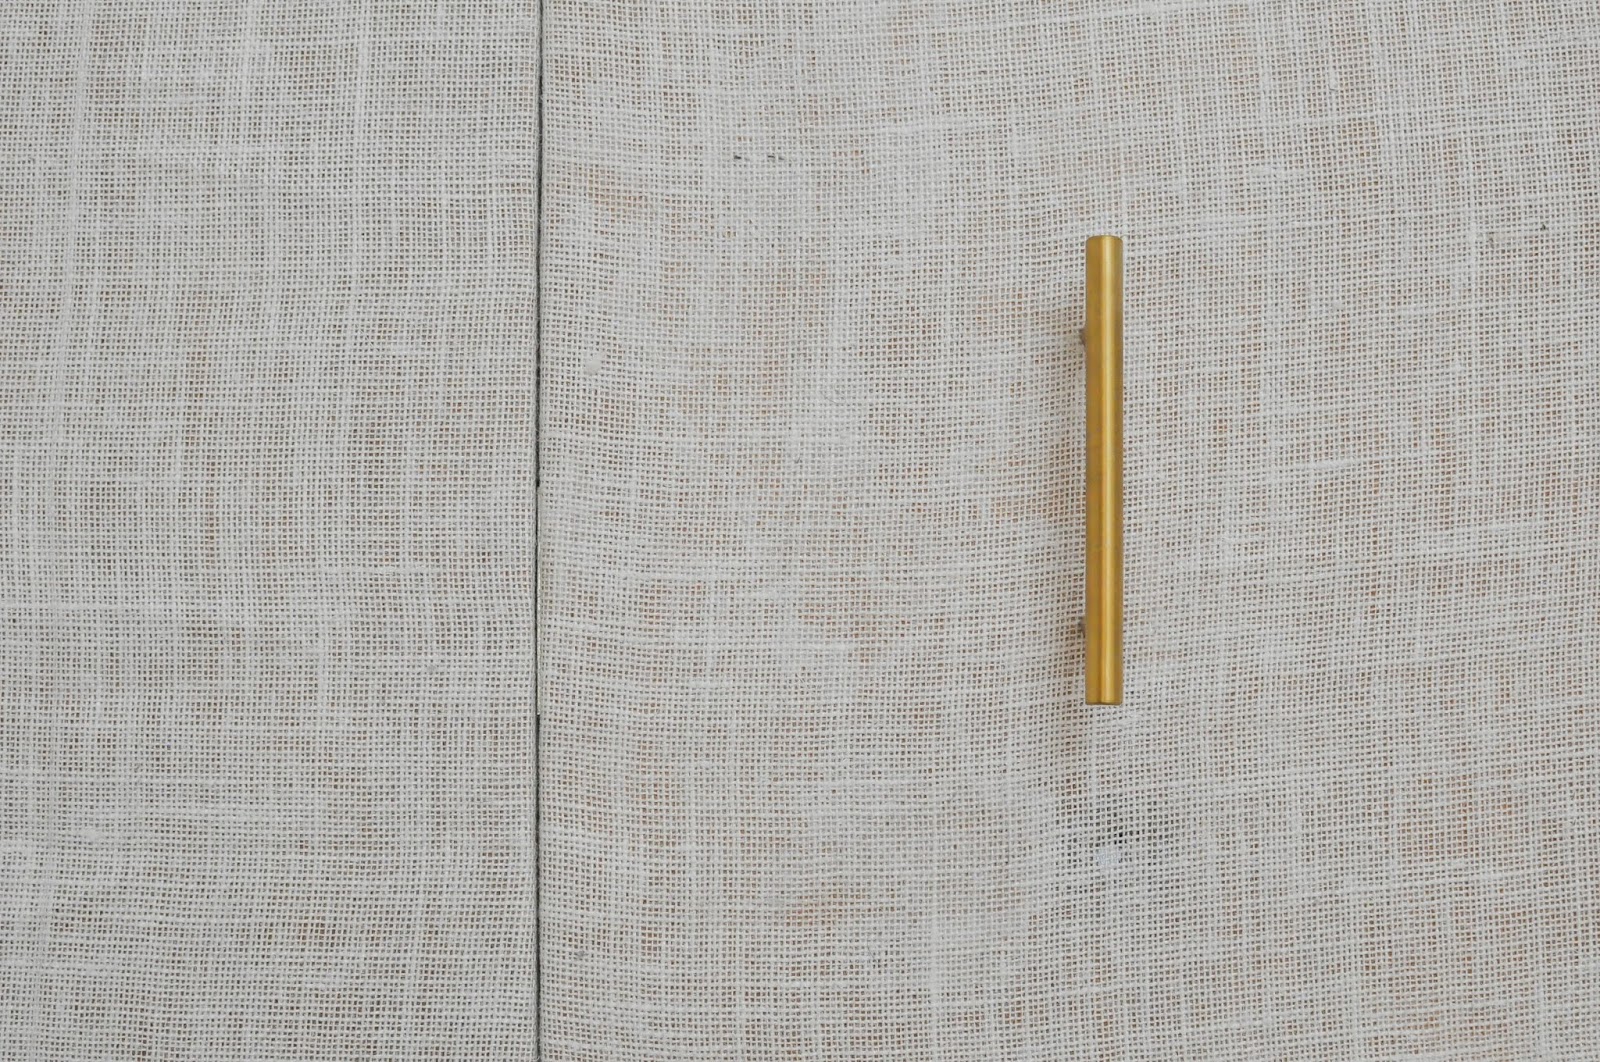


What do you think? Not too bad for a super cheap upgrade!
Not too bad? That's an understatement. I think you've done superb job with this, happy you got a moment to write to us :) Have a great new week!
ReplyDelete